REST APIs with Flask
Build RESTful API server applications with Flask.
Summary
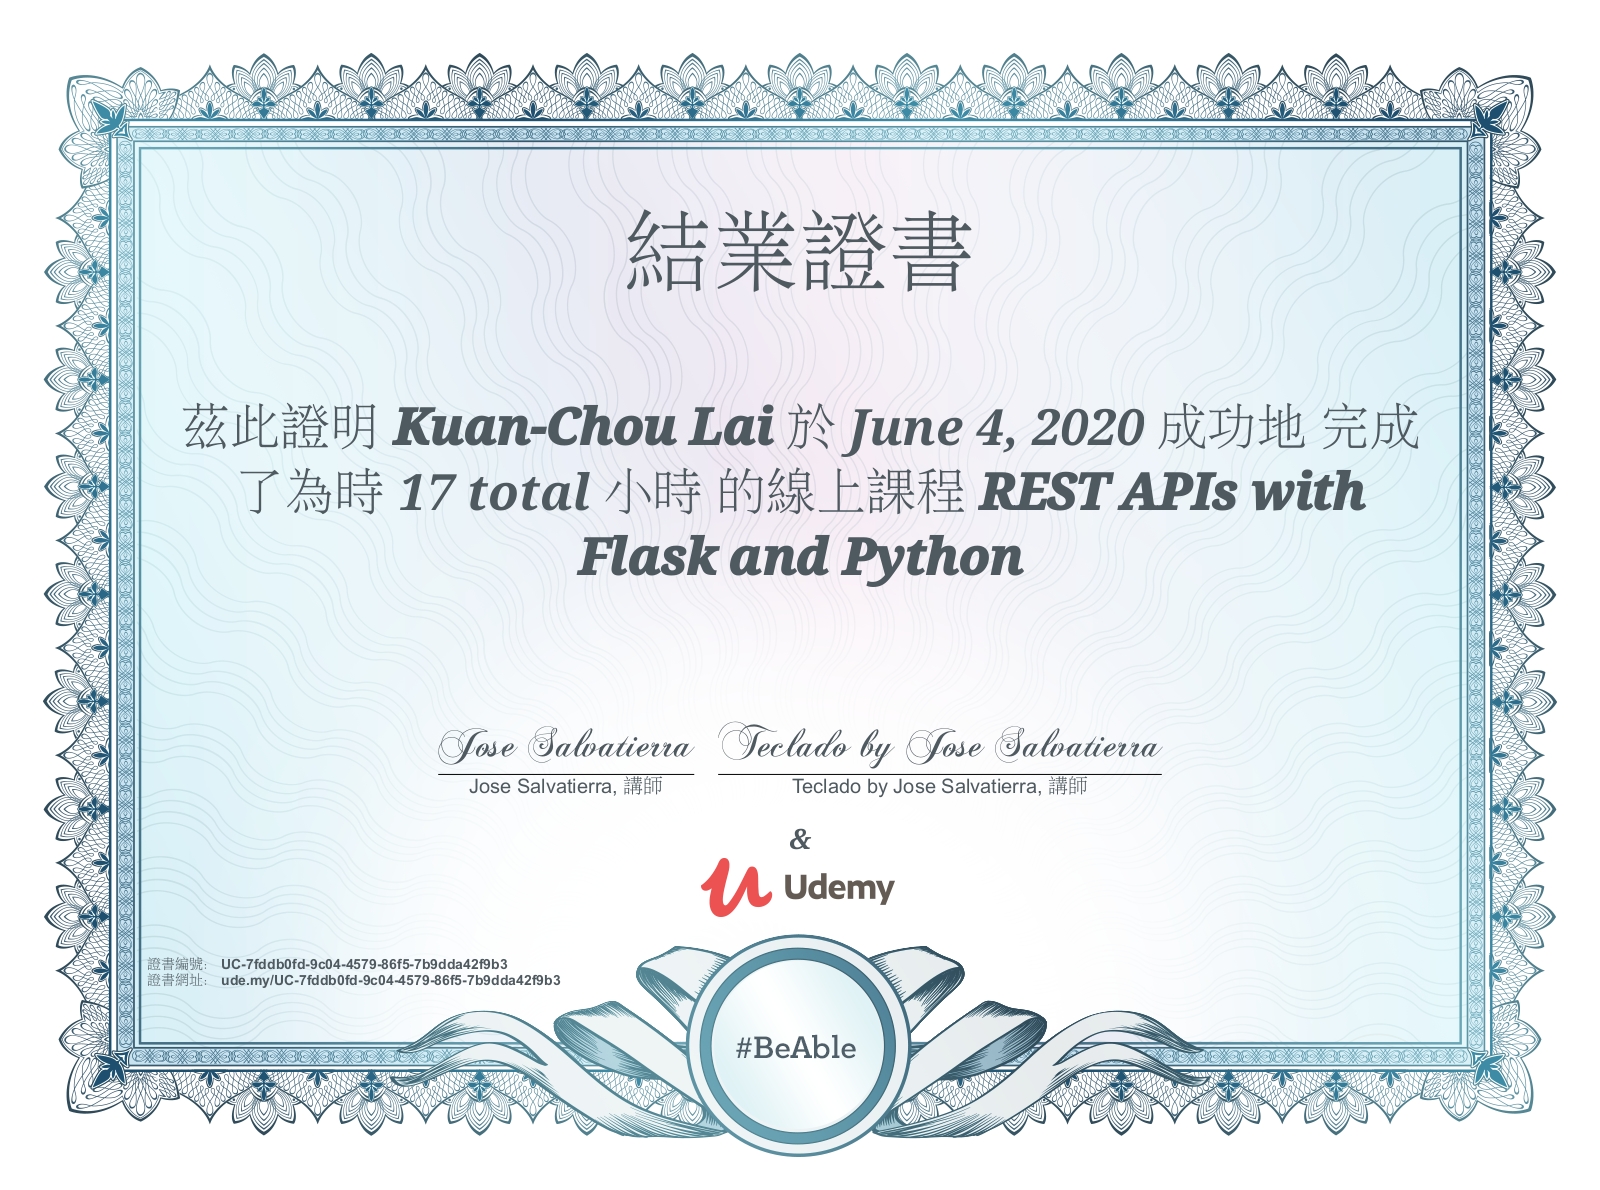
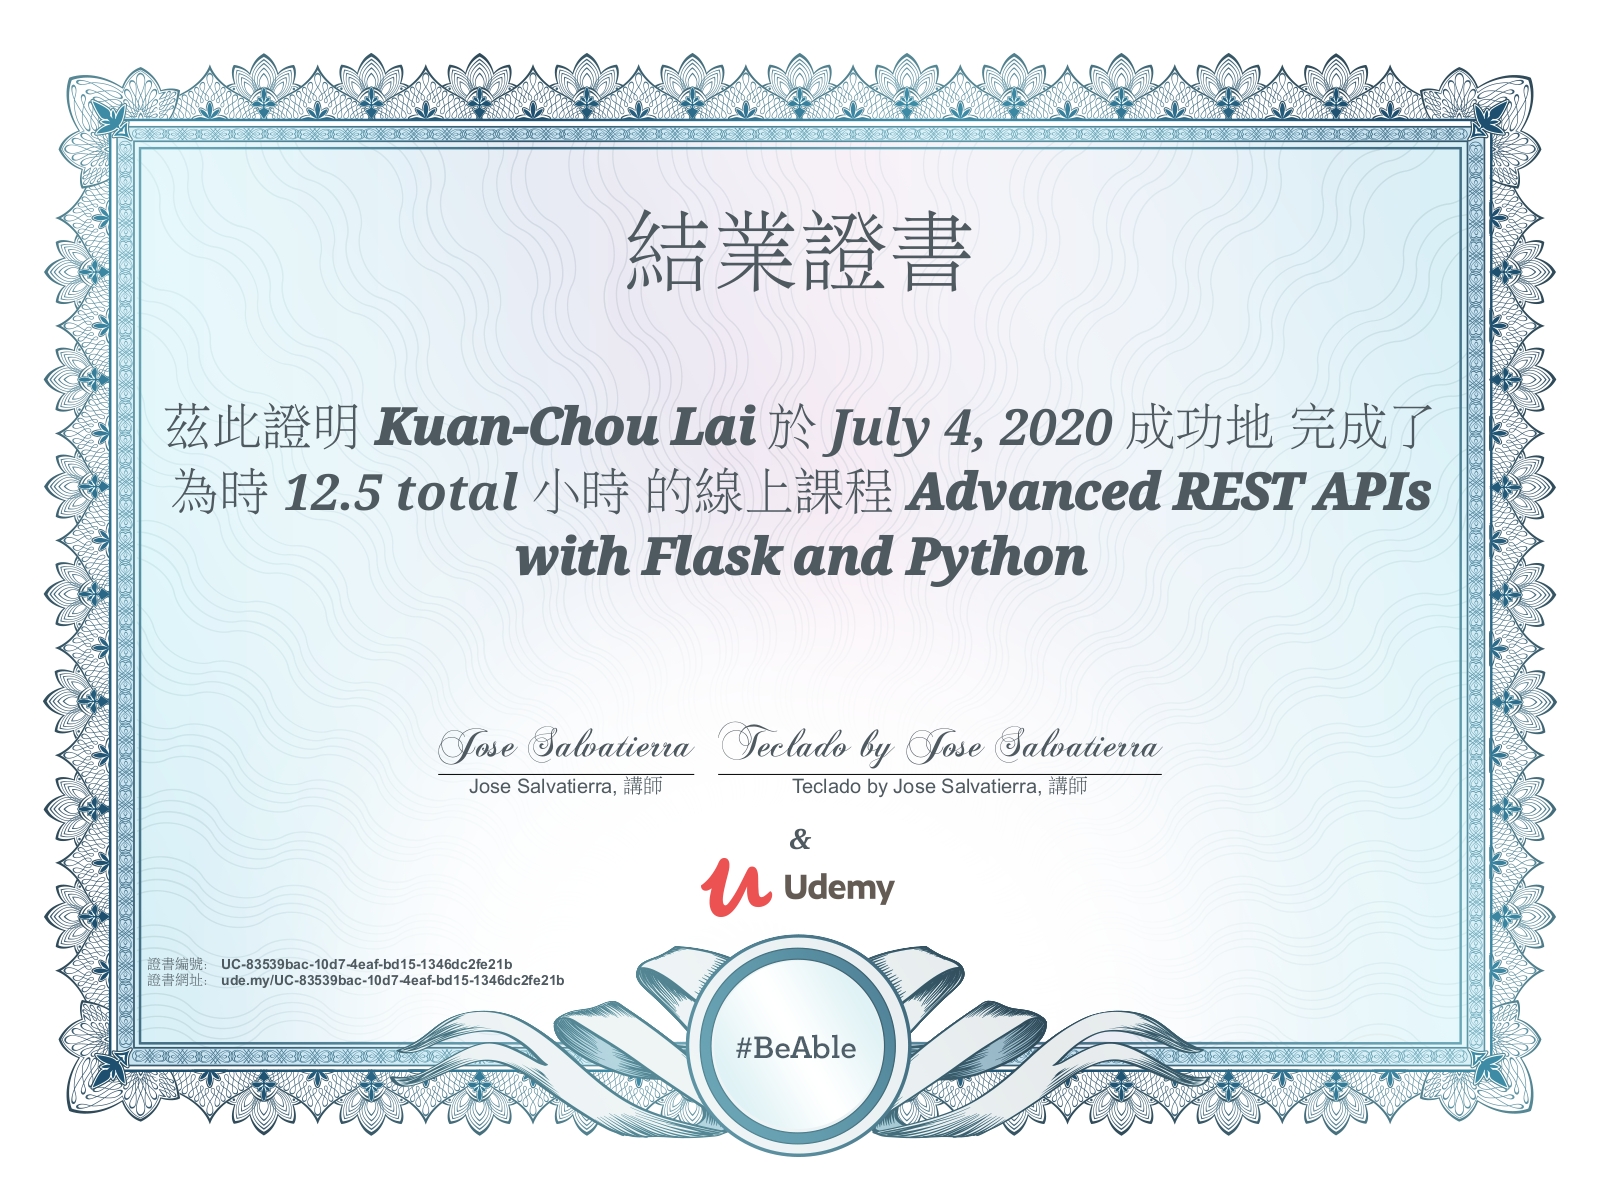
This repository documents my journey of learning how to build RESTful APIs using Flask. It includes step-by-step implementations of various concepts, from basic API design principles to advanced features like authentication, database integration, deployment, and third-party integrations. The content is based on two Udemy courses: "REST APIs with Flask and Python" and "Advanced REST APIs with Flask and Python". Each section highlights key topics, tools, and techniques, making it a comprehensive resource for anyone looking to learn Flask for API development.
Basics
Section 3
- Introduction to the Flask web framework, using decorators to set up application routes.
- Understanding common HTTP request methods: GET, POST, PUT, DELETE.
- Understanding common HTTP status codes: 200, 201, 202, 401, 404.
- Understanding RESTful API design principles focusing on "resources" and statelessness.
- Implementing a RESTful API server application.
- Testing APIs using the Postman application.
Section 4
- Implementing RESTful API server applications using
Flask-RESTful
. - Implementing JSON Web Token (JWT) authentication using
Flask-JWT
. - Parsing user input JSON data using
RequestParser
.
Section 5
- Introducing
sqlite3
to store user and item information in a database. - Implementing user registration functionality.
Section 6
- Introducing
Flask-SQLAlchemy
to interact with the database using ORM. - Adding store information with a one-to-many relationship to items.
Section 8
Deploying the Flask application to Heroku and using Heroku's PostgreSQL. Steps:
1. Modify the project locally (e.g., add Procfile
, runtime.txt
, uwsgi.ini
), then commit
and push
to the specified GitHub repo.
2. Register on Heroku, create an application, connect it to the GitHub repo, and add the heroku/python
buildpack and Heroku Postgres
add-on.
3. Install the Heroku CLI locally (see here) and log in using heroku login
.
4. Add a Heroku remote using heroku git:remote -a <app-name>
.
5. Deploy the project by pushing the basics/section8
subdirectory to Heroku using git subtree push --prefix basics/section8 heroku master
.
Testing: Access here to retrieve all stores and their items in the database, returned in JSON format.
Section 9
Deploying the Flask application to a DigitalOcean Droplet. Steps: 1. Register on DigitalOcean, create a Droplet with Ubuntu 16.04, set up SSH, and connect using PuTTY. 2. Create a new user on the operating system. 3. Install and configure PostgreSQL, including creating a new user and database with appropriate permissions. 4. Install and configure the Nginx server, including firewall settings, error pages, and uwsgi parameters. 5. Set up a Python virtual environment, install required packages, and clone the project from GitHub. 6. Configure an Ubuntu service to run the uwsgi server, including log directories, processes, and threads.
Testing: Access here (created on 2020/05/30) to retrieve all stores and their items in the database, returned in JSON format.
Section 10
Book - Registering a domain and configuring DNS servers. - Obtaining an SSL certificate for HTTPS communication and configuring Nginx.
Section 11
Introducing Flask-JWT-Extended
:
- Implementing token-refreshing to improve user experience by avoiding frequent logins while requiring re-login for critical actions for security (using @jwt_refresh_token_required
, create_refresh_token()
, create_access_token()
).
- Responding with appropriate data based on user roles (visitor, user, admin) using @jwt.user_claims_loader
, @jwt_optional
, get_jwt_claims()
.
- Returning specific error messages for token-related issues using @jwt.expired_token_loader
, @jwt.invalid_token_loader
, @jwt.needs_fresh_token_loader
.
- Implementing a logout mechanism using a blacklist (with @jwt.token_in_blacklist_loader
, get_raw_jwt()
).
Advanced
Section 1
Preparations for the course:
- Simplified authentication mechanism.
- Added type hinting.
- Unified code style.
- Changed all Resource
methods to class methods (using @classmethod
).
Section 2
Introducing marshmallow
, flask-marshmallow
, and marshmallow-sqlalchemy
:
- Simplified request parsing, Model
object creation, and JSON responses by defining Schema
for each Resource
.
Section 3
- Implemented user email verification process (using Mailgun).
- Used
.env
files to store sensitive data. - Returned
.html
files inFlask-RESTful
usingmake_response()
andrender_template()
.
Section 4
Optimized the email verification process:
- Added expiration for verification and resend functionality.
- Refactored project structure by treating confirmation
as a resource.
Section 6
- Configured the application more securely (using
from_object()
andfrom_envvar()
). - Learned the relationships between
WSGI
,uwsgi
,uWSGI
, andWerkzeug
. - Introduced
Flask-Uploads
for handling file uploads, downloads, and deletions (usingUploadSet
,FileStorage
).
Section 7
- Introduced
Flask-Migrate
for database version control, including adding, deleting, and modifying details. - Common commands include
flask db init
,flask db upgrade
,flask db downgrade
.
Section 8
- Learned OAuth third-party login flow (e.g., GitHub), including authentication, authorization, and obtaining
access_token
. - Introduced
Flask-OAuthlib
. - Used Flask's
g
to storeaccess_token
. - Allowed third-party login users to set passwords.
Section 9
- Integrated
Stripe
for third-party payment processing. - Added an "Order" resource and implemented many-to-many relationships using
Flask-SQLAlchemy
.